BubbleCam
-
- With an Insta360 camera and an invisible selfie stick, you can get unbelievable shots, one such shot is “BubbleCam” where a window can be used to create a bubble effect. Here’s how to do it:
-
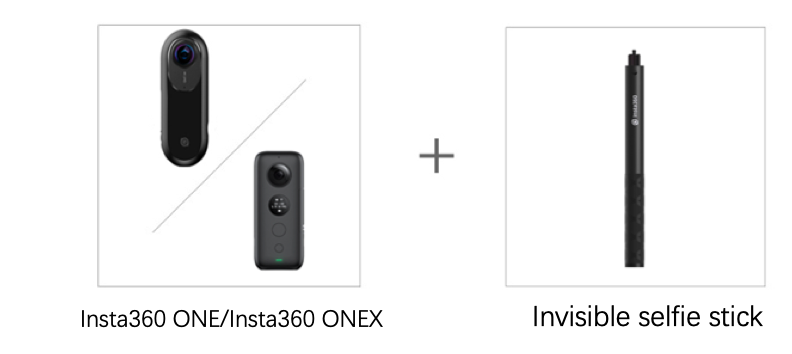
- Equipment used:Insta360 ONE X/Insta360 ONE,selfie stick。
-
- Tutorial:
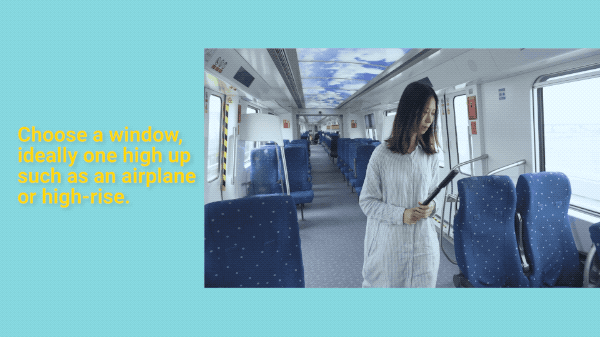
- 1. Choose a window, ideally one high up such as an airplane or high-rise. While using the invisible selfie stick, position the camera in right up close to the window to shoot.
-
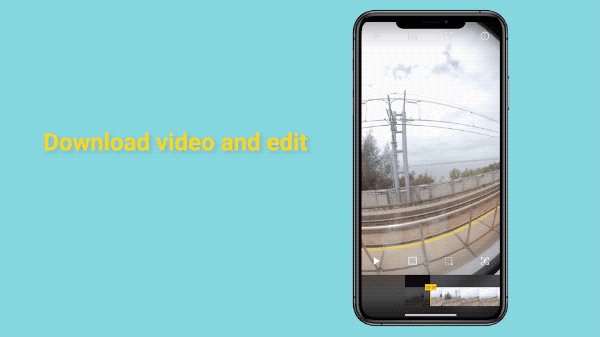
- 2. Download the video to the app, then hit “FreeCapture”in the lower right corner, then you can adjust the FOV, either with ViewFinder or by pinching with two fingers.
-
- You can also try shooting a BubbleCam photo.
- Download the photo to the app, pinch with two fingers on the photo to adjust, then hit share
-
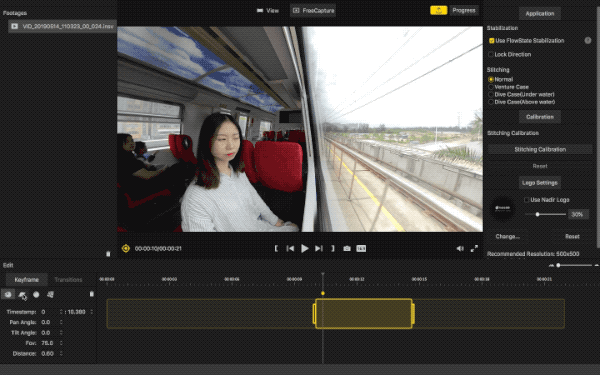
- Alternatively, you can edit a BubbleCam effect on Studio 2019!
- Open Studio2019 on your computer and import the files, click FreeCapture, and add a keyframe to the video, then set the keyframe effect to the Tiny Planet view.
- Afterwards, drag the photo or video to adjust to the angle of a Tiny Planet, or adjust the FOV parameters to: Pan angle 90.0, Tilt angle 0
- Click here to download Studio2019
-
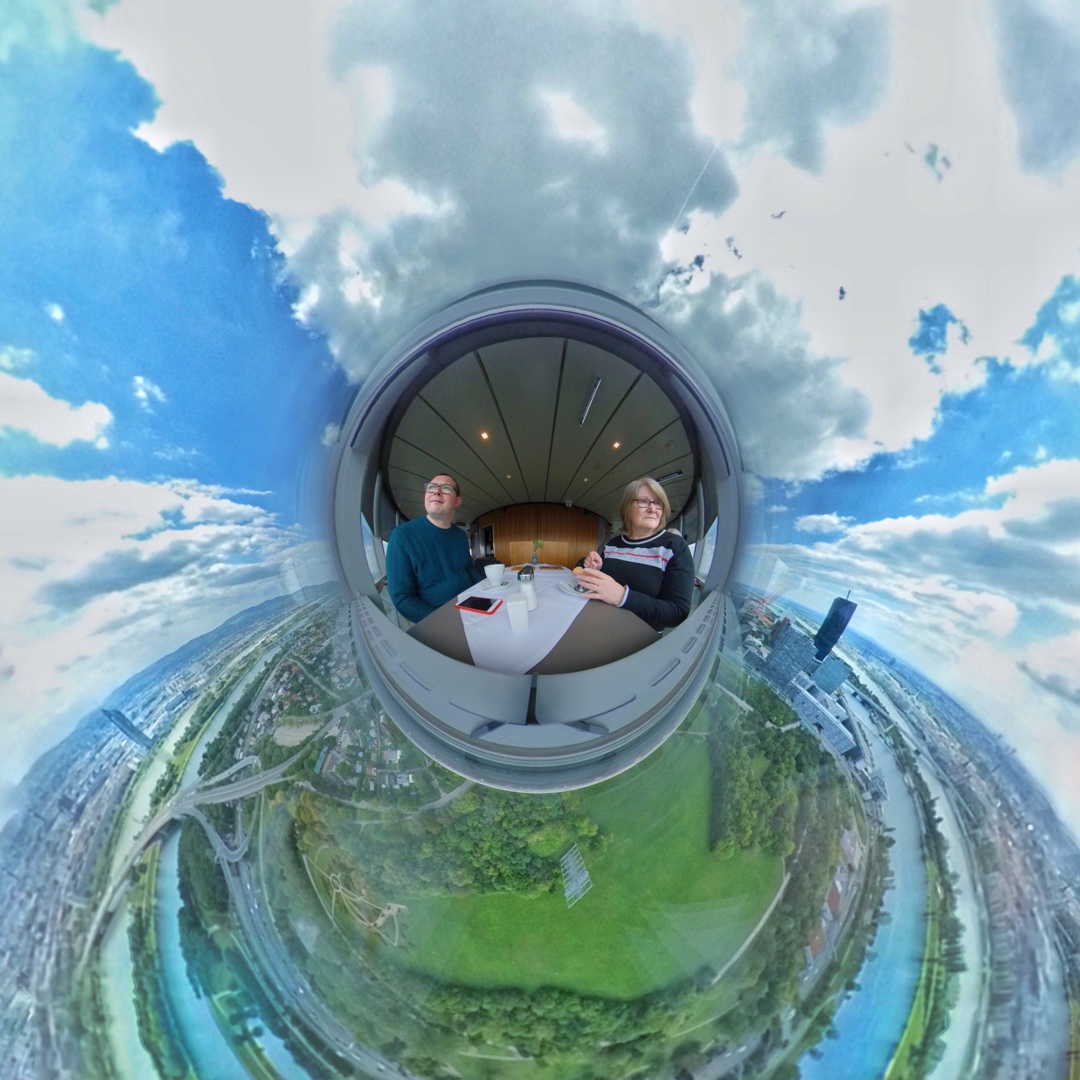
- Here are some shots from the community to get you inspired::
-
romantic dinner@msmith360
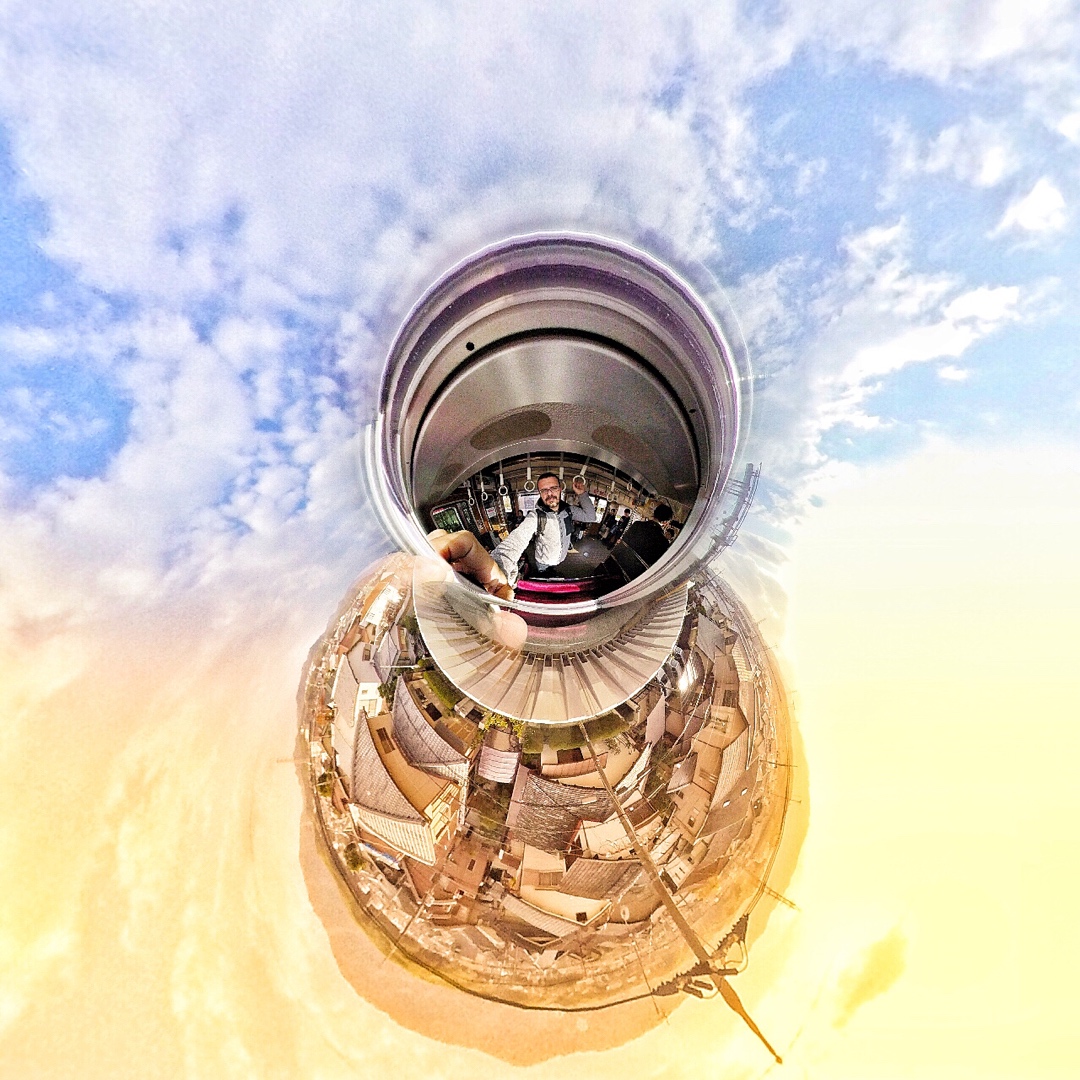
Twilight on the Tower@Loicdromard
- Tips:
- 1.We recommend using 5.7K30FPS to shoot BubbleCam video with a 9:16 aspect ratio.
- 2. At present, only the IOS version of Insta360 ONEX app supports adjusting FOV to get a better window view. It is recommended to use Studio 2019 for editing on the computer.
- Click here to download Studio2019

- How to join the challenge:
- 1. Log into Insta360 Community.
- 2. Tap ‘Explore’ — ‘Post’ — Select a video —Tag#BubbleCam— Hit ‘Share’!
- 3. The best entries will be featured on the Insta360 Community home page for Insta360 users around the world. Get creating!

Was this information helpful?
Yes
No
Questions about products?
Chat with us now

