Insta360 GO Tutorial - The Hyperlapse
- Insta360 GO can be mounted anywhere. In this tutorial we breakdown how to get a smooth Hyperlapse from the perspective of your car, all you’ll need it an Insta360 GO and the in-the-box accessory “Pivot Stand”.
-
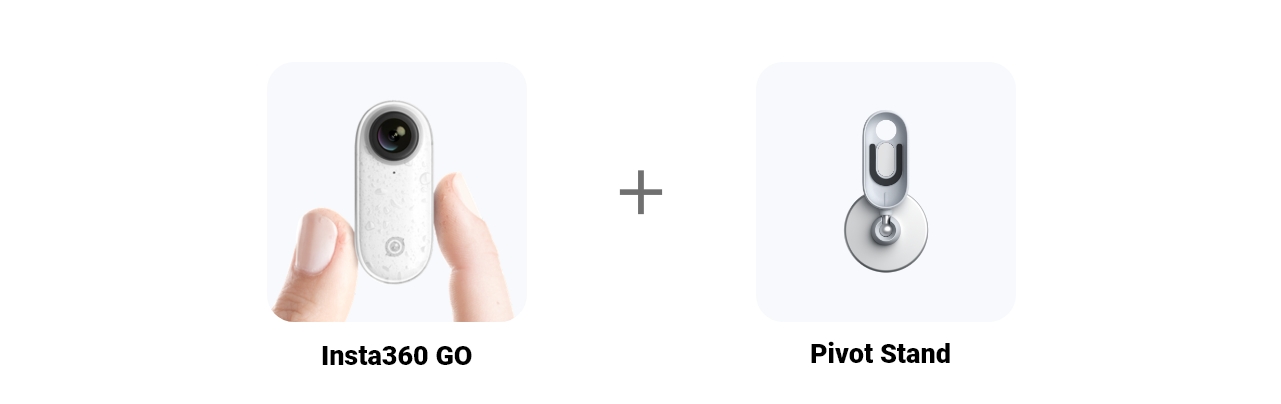
- Gear Used: Insta360 GO + Pivot Stand
-
- Insta360 GO Hyperlapse Tutorial
- 1. Connect GO with your phone, open the app, set your GO up for Hyperlapse shooting.
- In the app settings, go to: Camera Settings - Button settings, then set the set GO’s double press to Hyperlapse.
- In our case, we set the Hyperlapse to 6x speed for 5 minutes of shooting, but you can set it as you like. Play around and see what’s best for your drive.
-
- 2. Pop GO into your Pivot Stand, tag it onto your car, then double press to shoot.
- Tag it to your dashboard, roof, or anywhere you think up. Turn on GO (you’ll feel a vibration), double press again after powering on for a Hyperlapse.

-
- 3. Download, edit, export and share.
- Put GO in the Charge Case and plug it into your phone, save your video to the app and open it up. Let the app work it’s magic, and then export and share to the community. You’re done!
-
- Feeling creative? Try tagging the pivot stand to interesting spots. Planes, trains or cranes. It’ll look epic.

- Note:
- 1. Once you’ve popped GO into the Pivot stand, just press your GO to start shooting.
- 2. After connecting to the app, you can tweak the settings for your shot. For this one, we set the Hyperlapse to 6x speed for 5 minutes of shooting.

-
- How to join the challenge:
- 1、Log into Insta360 Community via the Insta360 GO app. Tag #TheHyperlapse and share.
- 2、The best entries will be featured on the Insta360 Community home page for Insta360 users around the world. Get creating!

Was this information helpful?
Yes
No