This tutorial will walk you through a few of the best mountain bike shots you can get with Insta360 ONE R.
Accessories:Bike Bundle(ONE R/ ONE X/ ONE)
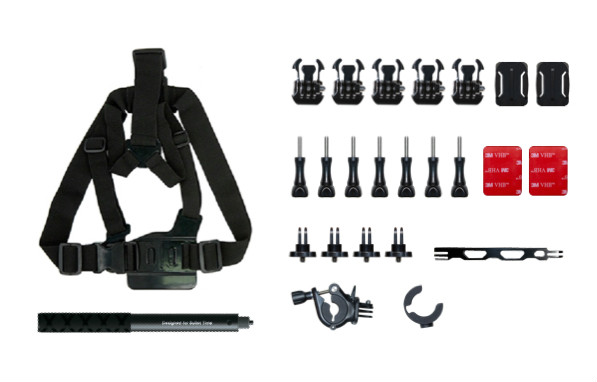
(Click the image to buy)👆👆👆
Before you get started, it’s best to turn on “Wind Noise Reduction”. This is ideal for rushing wind on a downhill run.To turn on Wind Noise Reduction, just swipe down on the touch screen to enter the shortcut menu, tap the settings icon, scroll down and select “Wind Noise Reduction” . Then select “Intense”.
Technique 1: Helmet Mount Options
For this shot, you'll want to start by sticking a 3M sticker to the top of your helmet and then attaching the mount point. Then, just mount on your ONE R.
This angle gives an unobstructed 360 view of your run. But you can get an even one better with a little extra gear.
Using the extension rod, ONE R can be mounted higher up, and the rod is automatically removed from the shot, so you get a drone-like effect. Just make sure the rod is directly under the ONE R to make sure it stays invisible.
From this point of view, you’ve got a flying camera directly overhead. Try reframing to get a mix of action, and your surroundings.
Another way to mount your ONE R is pointing it straight forward. Kind of like a unicorn horn. This angle gets your face in the shot, and you can do some reframing to get your line, or your bike in frame.
Reversing this shot so ONE R is directly behind you also gets a unique effect. This perspective gives you a stabilized third-person view that looks straight out of a video game.
Try mounting directly to the forehead area of your helmet. This’ll put the focus on your handlebars, capturing the action as you weave through your run.
Last but not least, you can mount ONE R on the jaw of your helmet for an action-packed POV.
Last but not least, you can mount ONE R on the jaw of your helmet for an action-packed POV.
We used the Dual-Lens 360 Mod for these shots because of the additional freedom of reframing, but you could swap out the 4K Wide Angle Mod on any of these mount points for a more classic action cam feel.
Technique 2. The Chest Mount
For this shot, just mount ONE R on the chest mount accessory. This angle puts you right in the action. It’ll keep the horizon perfectly level, so even if you’re going around a bowl, the horizon line stays steady.
Technique 3: The Fake Drone
You can use the Back Bar to get a “Fake Drone Shot”, Just tighten the belt around your waist, and mount the selfie stick on the belt, extending it fully.
This is another video game angle, you can play with the mounting angle to see what works best for your line.
Technique 4: The Handlebar Mount
By mounting ONE R on your handlebars using the handlebar clamp, you can capture shots from your bike’s POV. It’s an ideal perspective for when you’re riding with a buddy.
Technique 5: The Wheel Shot
Try mounting ONE R right near the rear, or front wheel. Then reframe to nail your shot.

Editing with Insta360 ONE R
After you’ve captured your line, you can use the ONE R app to edit. First, open the ONE R app, connect the camera and tap “Album”, then “Camera” to view the shots on your ONE R.
(1)Download the clips to your phone and adjust the aspect ratio.
(2)After downloading and adjusting your aspect ratio, You’ll want to trim your clip. To trim, tap “Edit”, then “Trim” and drag the video timeline to the parts of your video you want.
Drag the screen to reframe and tap the yellow “+” button to add a pivot point. Here, you can choose an FOV. Choose between Tiny Planet, Ultra Wide, Wide, Linear, which gets rid of the fisheye, or Narrow.
Swipe the screen again to reframe and add more keyframes;
If you prefer, try ViewFinder. It allows you to reframe your shots by aiming your phone in real time, just like you’re pointing a camera.
To access Viewfinder, tap the yellow “+” button and tap the ViewFinder icon. Then, hold the red record button. You can now move your phone around to reframe in 360.
Drag the record button to the left to zoom in, or drag to the right to zoom out. You can get multiple perspectives from a single run.
You can also let the app’s AI tracking feature take care of your reframing for you. Just press and hold your target to start tracking. This will keep your target locked in the center of the frame.
Once you’ve mastered reframing, try adjusting the speed of your video. To do that, tap “Edit”, then “Speed”. Choose a suitable speed, 16x is a nice speed for a hyperlapse.
You can also throw in some slow-mo. Shooting in 100fps works best for this. Head back to the playback speed menu. Choose “1/2x”. Drag to add to timeline.
Finally, try adding real-time GPS data. Connect your phone to ONE R wirelessly before shooting. Tap the settings icon.
Turn on GPS and start shooting.
GPS Data can also be tracked by the GPS Smart Remote, or an Apple Watch.
GPS Data can also be tracked by the GPS Smart Remote, or an Apple Watch. Tap the 3-dot icon to add stats. Select your desired stats and add them to your video.
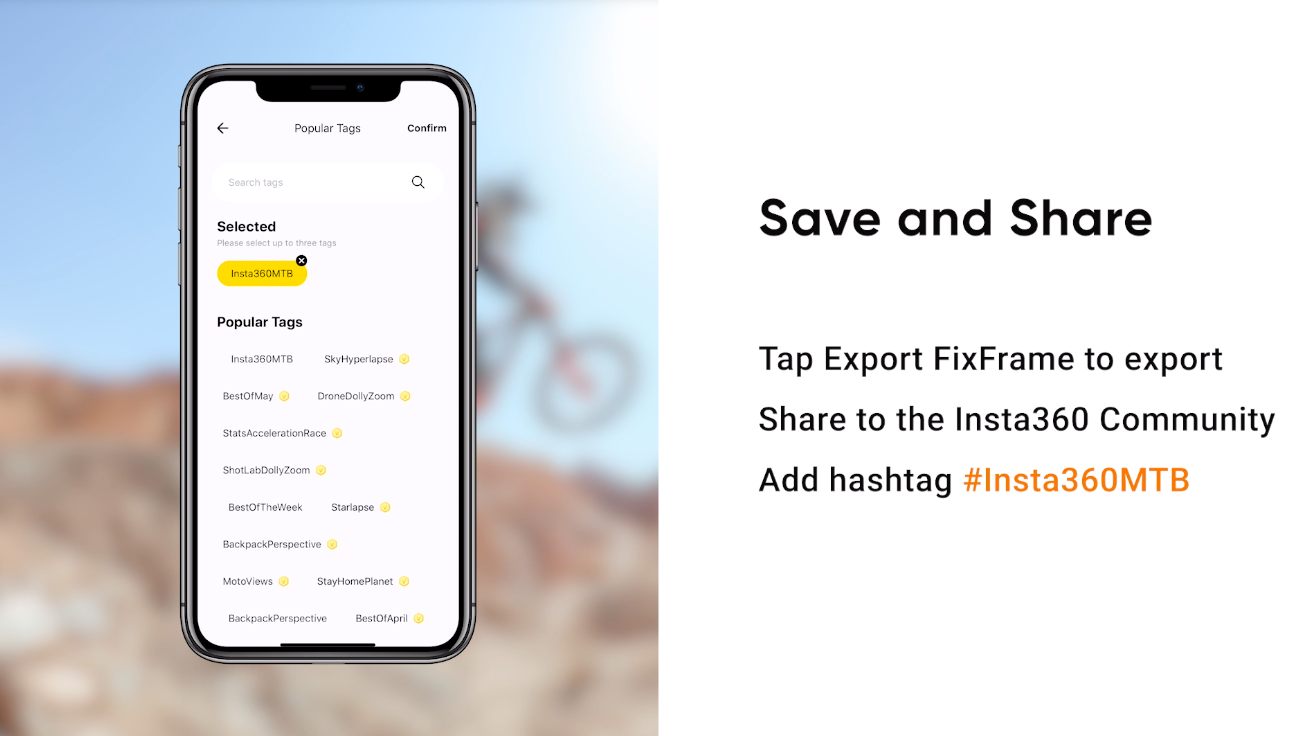
Tap Export FixFrame to export. Add hashtag #Insta360MTB and share to the Insta360 Community.

How to Participate
I. Where to participate
1. Participate in the Insta360 app: Tap "Explore" — Tap the yellow "+" button — Select your shot — Add tag #Insta360MTB and share!
2. Participate on the Community Forum: Click ‘Create a Post’ — Add tag #Insta360MTB to your post title — Select ‘Creator Shots’ board — Upload your shot — Click ‘Post’!
II. What you will win
The best entries will be featured on the Insta360 app and Community Forum for users around the world. Insta360 Gold will also be rewarded. Get creative!
