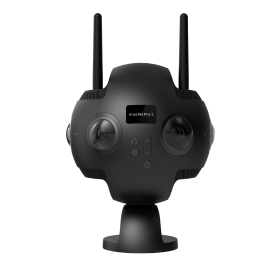
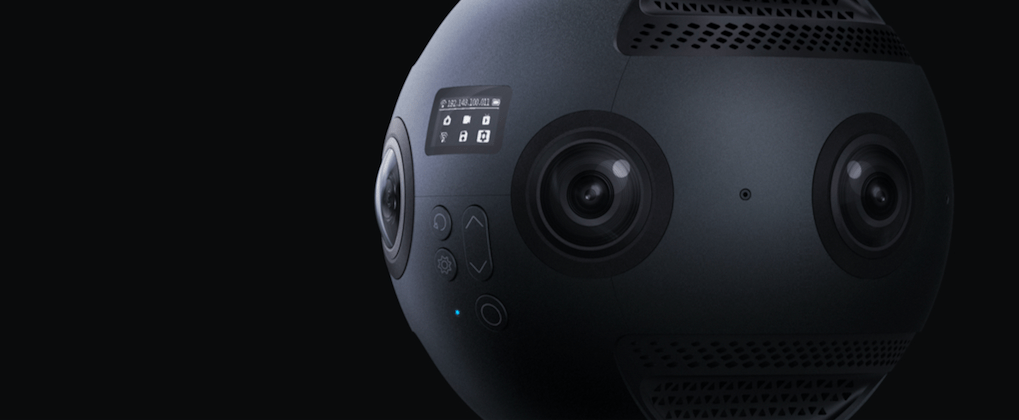
Insta360 Stitcher is a free 360 video and photo stitching software designed for Insta360 Pro, Pro 2 and Titan cameras. With just a few clicks, you can stitch the individual files from each camera lens together into a complete 360 photo or video. It’s a simple, but powerful, software for processing and previewing your footage quickly.
In the following three Insta360 Stitcher tutorials, learn step-by-step how to stitch Insta360 Pro 2 photos, videos and timelapses. And if you don’t yet have Insta360 Stitcher, be sure to download the 360 stitching software here with your camera serial number.
1. Stitching 360 photos in Insta360 Stitcher
First check that your Insta360 Pro 2 photo files have been saved in the same project folder. You should have a project file, a gyro data file, six original photo files and a thumbnail photo. Drag the entire folder into Insta360 Stitcher to import.
There are three stitching modes in Insta360 Stitcher:
- New Optical Flow: Recommended for most situations, providing a good mix of stitching speed and quality.
- Optical Flow: Try this if you’re unsatisfied with “New Optical Flow”. This mode is slower but provides higher-quality stitching for more complex scenes.
- Scene-Specific Template: Fastest mode, but provides lowest stitching quality.
Preview the stitching effect and adjust the perspective as desired. You can also try toggling on the “Zenith Optimization” button to improve stitching at the top of the image. This is particularly helpful for images with complex patterns at the top of the image, like tree branches.
2. Stitching 360 videos in Insta360 Stitcher
First check that your Insta360 Pro 2 video files have been saved in the same project folder. You should have a project file, six original video files, six proxy files and a preview video. Drag the entire folder into Insta360 Stitcher to import.
Select your stitching mode as explained above, then sampling type. For moving camera scenes, consider choosing a slower sampling type from the three options: Fast, Medium and Slow. Sampling with a lower speed can result in better video quality for moving scenes. But if the camera is static in your video, the end result will be similar among sample types.
Preview the effect and adjust as desired, then export. You can export 360 videos at up to 8K quality with H.264 or H.265 encoding using Insta360 Stitcher.
3. Stitching 360 timelapses in Insta360 Stitcher and Adobe Premiere Pro
To stitch Insta360 Pro 2 timelapses, first stich the 360 photos in Insta360 Stitcher as explained above. Remember to turn off “Gyroscopic Stabilization” before export to prevent ghosting in the image. Then import the photos into Adobe Premiere Pro. Create a new sequence and edit and color correct the video as desired.
To export in 8K quality with H.264 encoding, use Adobe Premiere Pro CC 2018 or higher. Make sure to select “VR video” during export so that necessary metadata can be written into the video. Otherwise, players like YouTube and Facebook will not be able to recognize your video as a 360 video and will display it as a flat video instead.
If you’d like to do further post-processing of your video without first stitching your files, you can also use the “No Stitch” plugin for Adobe Premiere Pro. This plug-in allows you to edit immediately using the Insta360 Pro 2 proxy files. You can also stitch your Insta360 Pro 2 files with third-party 360 stitching software like PTGui, Mistika VR and others if desired.
Keen to keep up to date on Insta360 stories? Keep an eye on our blog and sign up for our mailing list.
