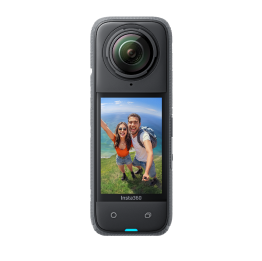
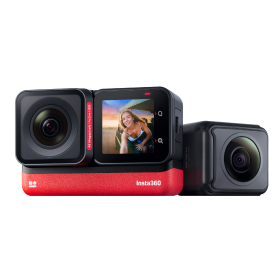
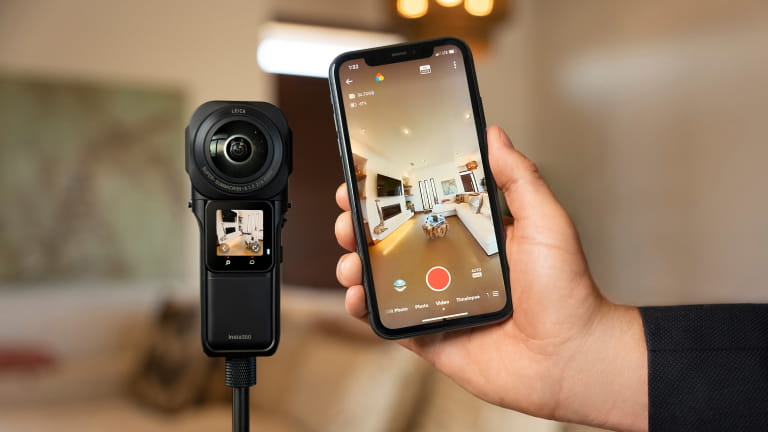
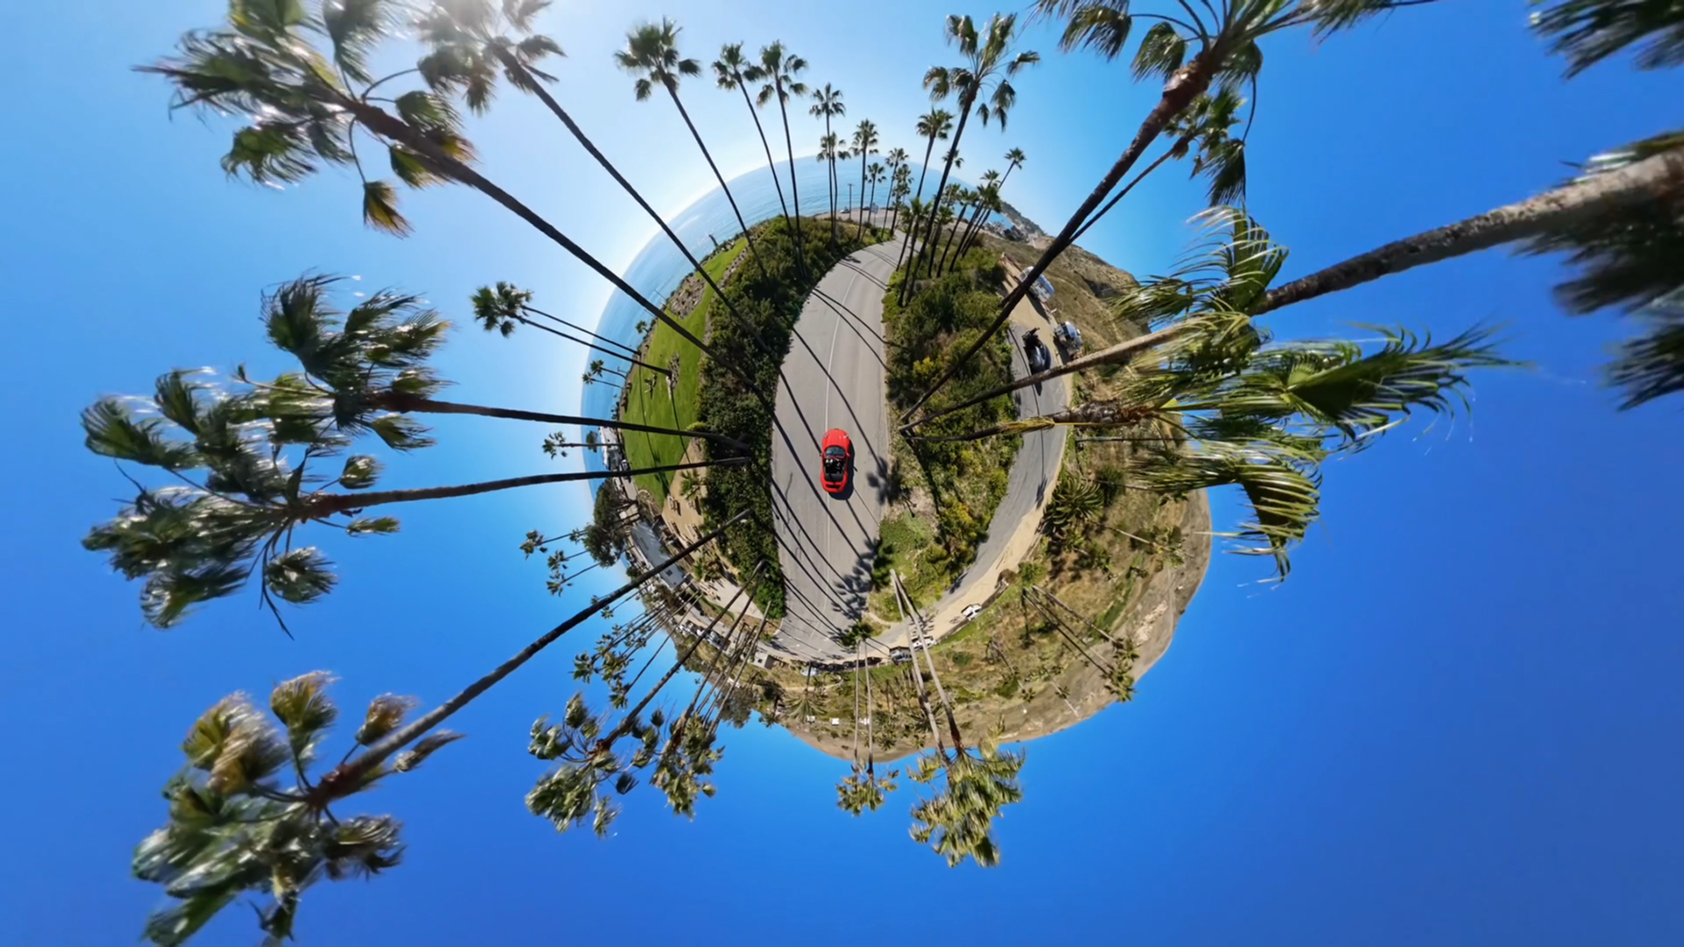
The camera that 360 fans have long been waiting for, Insta360 RS 1-Inch 360 Edition boasts dual 1-Inch CMOS sensors, 6K 360 video, 21 megapixel photos, PureShot HDR, and more. It’s an absolute beast and these are our pro tips to get the most out of it, including:
- Firmware & camera setup
- Shooting Inspiration
- Camera settings
- Tips for shooting 360 videos
- Tips for editing 360 video
- Export settings for sharing and posting online
Looking for tips for Insta360 RS with the 360 Lens? Check out this article instead.
Firmware & Camera Setup
First things first, check that you’ve got the latest versions of the camera firmware and Insta360 app. Updates go out regularly with improvements and new features; basically a free upgrade for your camera!
Another pre-shoot essential is to make sure you have the right type of SD card. For best results use UHS-I Micro SD cards with a V30 or above speed class and exFAT format. We recommend purchasing only name-brand MicroSD cards, such as SanDisk, and always through official resellers.
If you’re wondering what the USB door is for (included in the box), this is only needed when using the RS Core with other lenses, such as the 4K Boost Lens. For the 1-Inch 360 setup, you can leave the door at home.
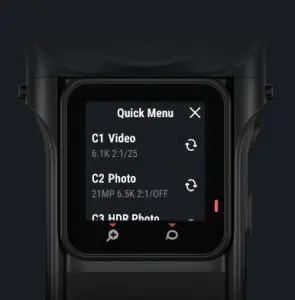
And a useful time saver before you start shooting is to store your commonly used settings and modes in the Quick Save menu. Set up the camera with the settings you want to save, then tap the “Q” button. Here you can save the current settings, or access your other presets.
Shooting Inspiration for RS 1-Inch 360
Before going through our settings and shooting tips, here’s a quick bit of inspiration from videographer, Brandon Li. This cinematic city sequence was shot on the streets of New York City using only the RS 1-Inch 360 Edition, and offers a bunch of useful tips and advice to boot.
Settings for regular lighting
For best quality 360 videos, we recommend shooting in 6K 30fps AUTO. That’ll be your go-to setting in most scenarios. We do not suggest shooting in 4K since this reduces resolution and dynamic range, though these clips will be fine for posting on social media at a lower resolution.
A pro tip for the RS 1-Inch 360 Edition is to adjust the sharpness to medium before shooting. Generally this will provide the best looking image, and you can always increase the sharpness in post if needed. Try experimenting with this to achieve the optimum result.
FlowState Stabilization and Horizon Lock are applied automatically for super stabilized, level shots. If you ever notice anything unusual with your camera’s stabilization, you can also re-calibrate the gyroscope in the settings menu to ensure optimal results.
For coloring, Standard offers a more natural look and leaves you with greater flexibility when editing, whereas the Vivid color profile has punchy, vibrant coloring, so it all depends what you’re after.
Settings for low light
In our experience, the best way to make the most of this camera in low light is to switch to manual settings via the camera interface. Decreasing the shutter speed and ISO helps reduce noise and provides a better image, but as always, adjust according to the situation. For example, if you plan to move while filming, a faster shutter speed and higher ISO value may be in order.
Using the Invisible Selfie Stick
Achieving the invisible selfie stick effect is 360 bread and butter. If you’re new to 360 cameras, we strongly suggest you check out our previous post for an explanation on how to use the invisible selfie stick.
For experienced users, you’ll notice the RS 1-Inch 360 Edition is a little heavier than our previous cameras. As such, when using a selfie stick we do not recommend shoots involving high vibrations or fast movements. This camera is not designed for action so it’s best to avoid such activities. We’d also suggest hand-held use (with a selfie stick) wherever possible, rather than mounting onto another object.
If you notice the selfie stick bending a little, a pro tip is to hold the stick so the camera lenses face left and right (as opposed to up and down). This positions the stitching line vertically so the stick will remain invisible. However, if the stick bends too much you should stop whatever you’re doing or adjust the camera position.
Other Shooting Tips
One essential step before every shoot is to clean the lenses. We’ve all been there when a great shot is ruined by a smudge or water mark on the lens. So always have that microfiber cloth at the ready!
The waterproofing status of this camera is also an important shooting consideration. RS 1-Inch 360 Edition is IPX3 water resistant, which basically means it can withstand some light rain or snow, but nothing heavier. And, it most certainly cannot be used underwater!
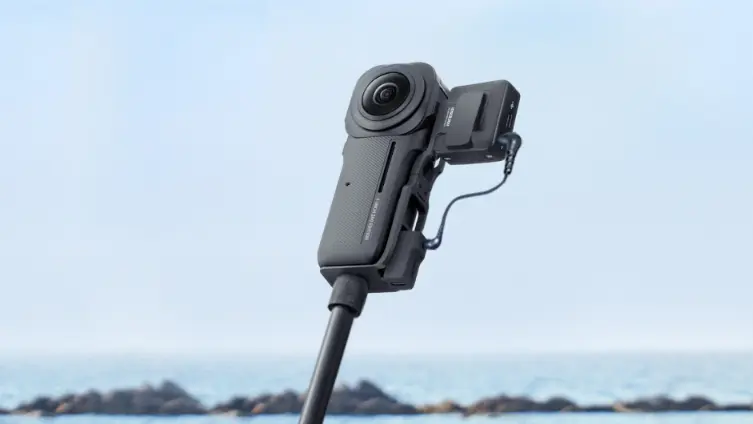
When it comes to audio, there are plenty of options for setting up an external mic. Best of all, certain mic models are designed to remain invisible in your 360 shots! For example, the RØDE Wireless GO II external mic attaches to the RS 1-Inch 360 Edition via a specially designed Invisible Mic Bracket, for awesome audio on the go.
More Inspiration for RS 1-Inch 360 Shots!
As if all that isn’t enough, check out these 11 incredible filmmaking ideas to try with this camera:
360 Video Stitching Tips
Since RS 1-Inch 360 Edition has two lenses, there is a stitch line where the footage from the lenses meet on the side. The stitch line is processed in real time using our proprietary algorithm. But there are some things you can do to make the stitch line less obvious in your footage:
- Avoid placing main objects in the stitch line.
- Don’t rotate the camera while shooting. It is easier for the stitching algorithm to align the footage when your camera is in a fixed position.
- Don’t get too close to the camera. Keep a minimum distance of 0.5m from the camera, or more where possible.
- As you shoot, always consider where the stitch line will be when you come to edit the flat video. Try to keep it in a less obvious area.
Editing 360 Videos with the Insta360 App and Insta360 Studio
The Insta360 app is great for quick, efficient edits. You get access to the full creative arsenal of Shot Lab, FlashCut and all the AI-powered editing features. Plus, when you’re done, it’s easy to share to social media or send to friends.
However, If you’re a more experienced user we recommend using the Insta360 Studio desktop software. This comes with more options for detailed editing, settings and export. Here you can export in ProRes, which minimizes compression. Depending on your computer’s capacity, you should also experience faster export times with Studio compared to the mobile app.
The next stage of editing, if required, is to use Adobe Premiere. This is a great option for editing both 360 and flat video. In particular we recommend it for reframing, offsetting, motion blur and curving keyframes.
If desktop software is your thing and you want to explore more options, we also suggest checking out FinalCut and After Effects.
Editing 360 Video Tips
When it comes to editing 360 videos, here are a few essential pointers:
- FlowState Stabilization is essential for most situations so make sure to turn this on.
- In terms of coloring, we find the Vivid color profile to be enough of a boost to color, hence Color Plus normally isn’t necessary.
- If you notice any light/dark color difference in your footage, tick the Chromatic Calibration option to correct this.
- If you’re not satisfied with the sharpness or clarity of your reframed video, then try using a slightly wider FOV.
Best Export Settings for Reframed 360 Videos
Until you’re ready to do the final export, always keep your files in the highest resolution and bitrate possible to ensure maximum quality.
For posting to social media, export settings vary depending on the platform and other factors. However, here is a rough guide that we use when posting reframed (flat) videos to Instagram, YouTube, TikTok and Facebook:
Instagram (Posts):
Resolution: 1080×1350 (Video)
Bitrate: 13-15Mbps
Codec: H.264
File Type: mp4
YouTube
Resolution: 4K
Bitrate: 65-80Mbps
Codec: H.264 or H.265
File Type: mp4
Instagram Reels, TikTok & YouTube Shorts:
Resolution: 1080×1920
Bitrate: 13-15Mbps
Codec: H.264
File Type: mp4
Facebook:
Resolution: 4K
Bitrate: 65-80Mbps
Codec: H.264
File Type: mp4
Well, that’s it from us. We hope you found this guide useful for shooting and editing with your RS 1-Inch 360. If you’re putting any of your footage online, don’t forget to tag us @Insta360 so we can see the results!
Keen to keep up to date on Insta360 stories? Keep an eye on our blog and sign up for our mailing list.











.jpg)