


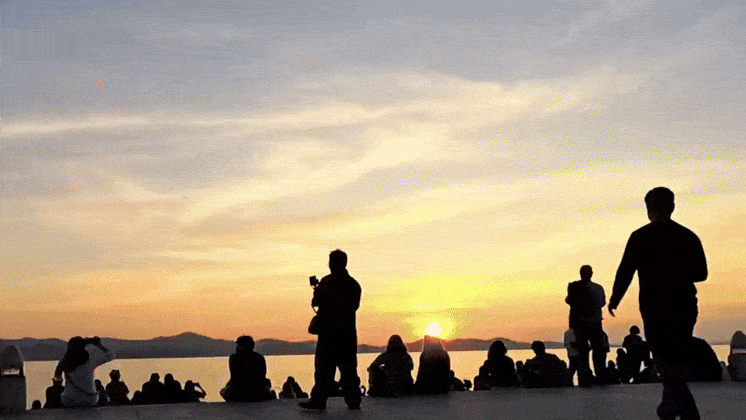
Everyone loves sunsets, right? Watching the sun slowly dip below the horizon while painting the sky yellow, orange, and purple can be mesmerizing. Sprinkle a few cirrus or cumulus clouds here and there for dramatic effect, and the experience becomes unforgettable.
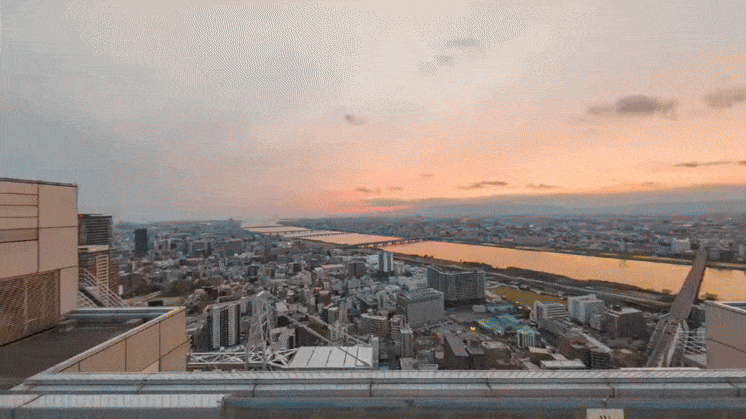
It's only natural to want to freeze a moment like that in time. Or, in less pretentious terms: record it and share it on social media.
Shooting sunset timelapses can deliver stunning results, but getting the camera settings right can be tricky. And chances are you won't know if the footage is any good until long after you're done filming. To make things even harder, you only get one chance per day to nail the shot. That’s just astrophysics for you.
Keep reading to learn all the tricks for shooting unbelievable sunset timelapses.
What gear? All the gear.
That might be an exaggeration. There are really only two things you need to shoot a sunset timelapse:
- A camera
- A tripod (optional)
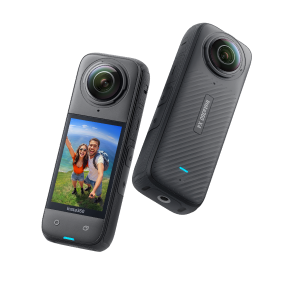
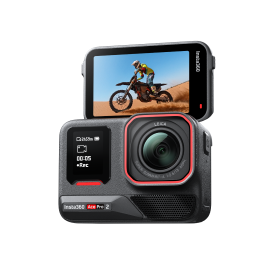
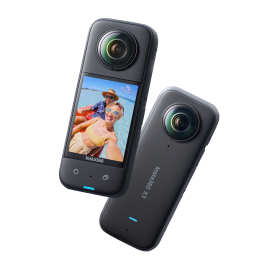
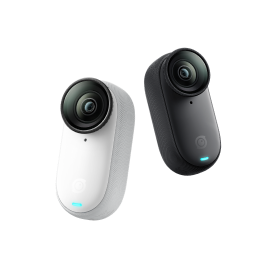
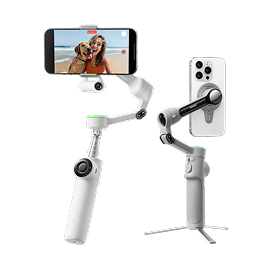
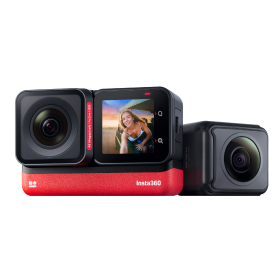
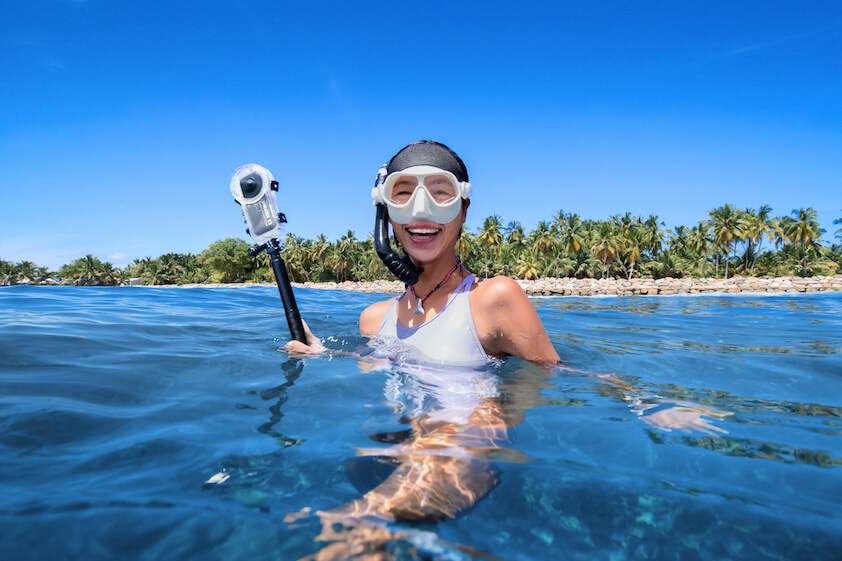
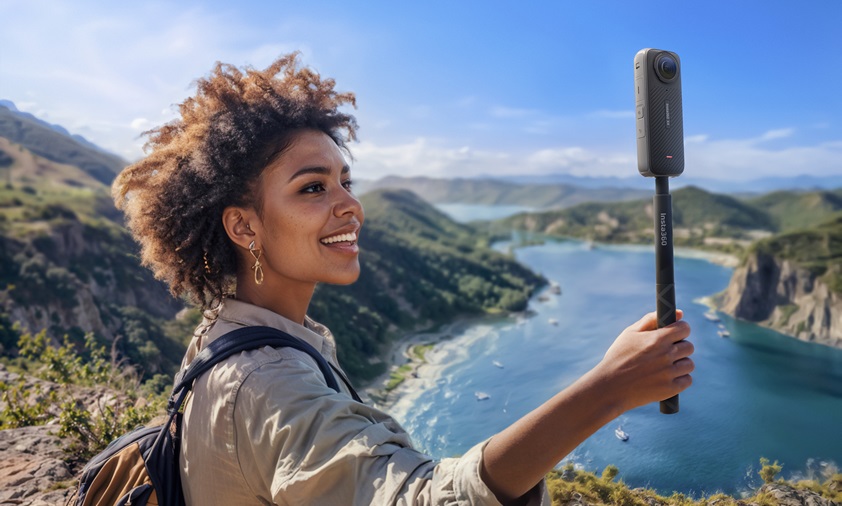
If you're using a 360° camera like Insta360 X4, a tripod goes from being an essential piece of kit to being more of a "nice to have". For single-lens cameras that shoot flat videos—like Insta360 Ace Pro 2 or Insta360 GO 3S—a tripod is highly recommended.
The Mini 2-in-1 Tripod is a solid choice since it won't take up much space in your camera bag. If you're shooting with an Ace Series camera, don't forget to grab a Standard Mount for Insta360 Ace Series. If you're rocking a GO Series, check out the GO 3/GO 3S Quick Release Mount instead.
Want maximum control over your framing? The Multi Mount has a fully rotating ball joint—if that's your thing.
Choosing a location for your sunset timelapse.
Look, we’re not going to tell you where to go. You probably already have a few locations in mind. But if you don’t—or if you’re traveling somewhere new—a quick internet search (or a well-worded LLM prompt) should give you some handy pointers.
But here's a hot tip: the sun sets in the west. So, pointing your camera in that general direction is recommended if you want to shoot a sunset timelapse.
Conversely, pointing your camera in the opposite direction is encouraged if you're shooting a sunrise timelapse. Again, astrophysics.
Dialing in the best camera settings.
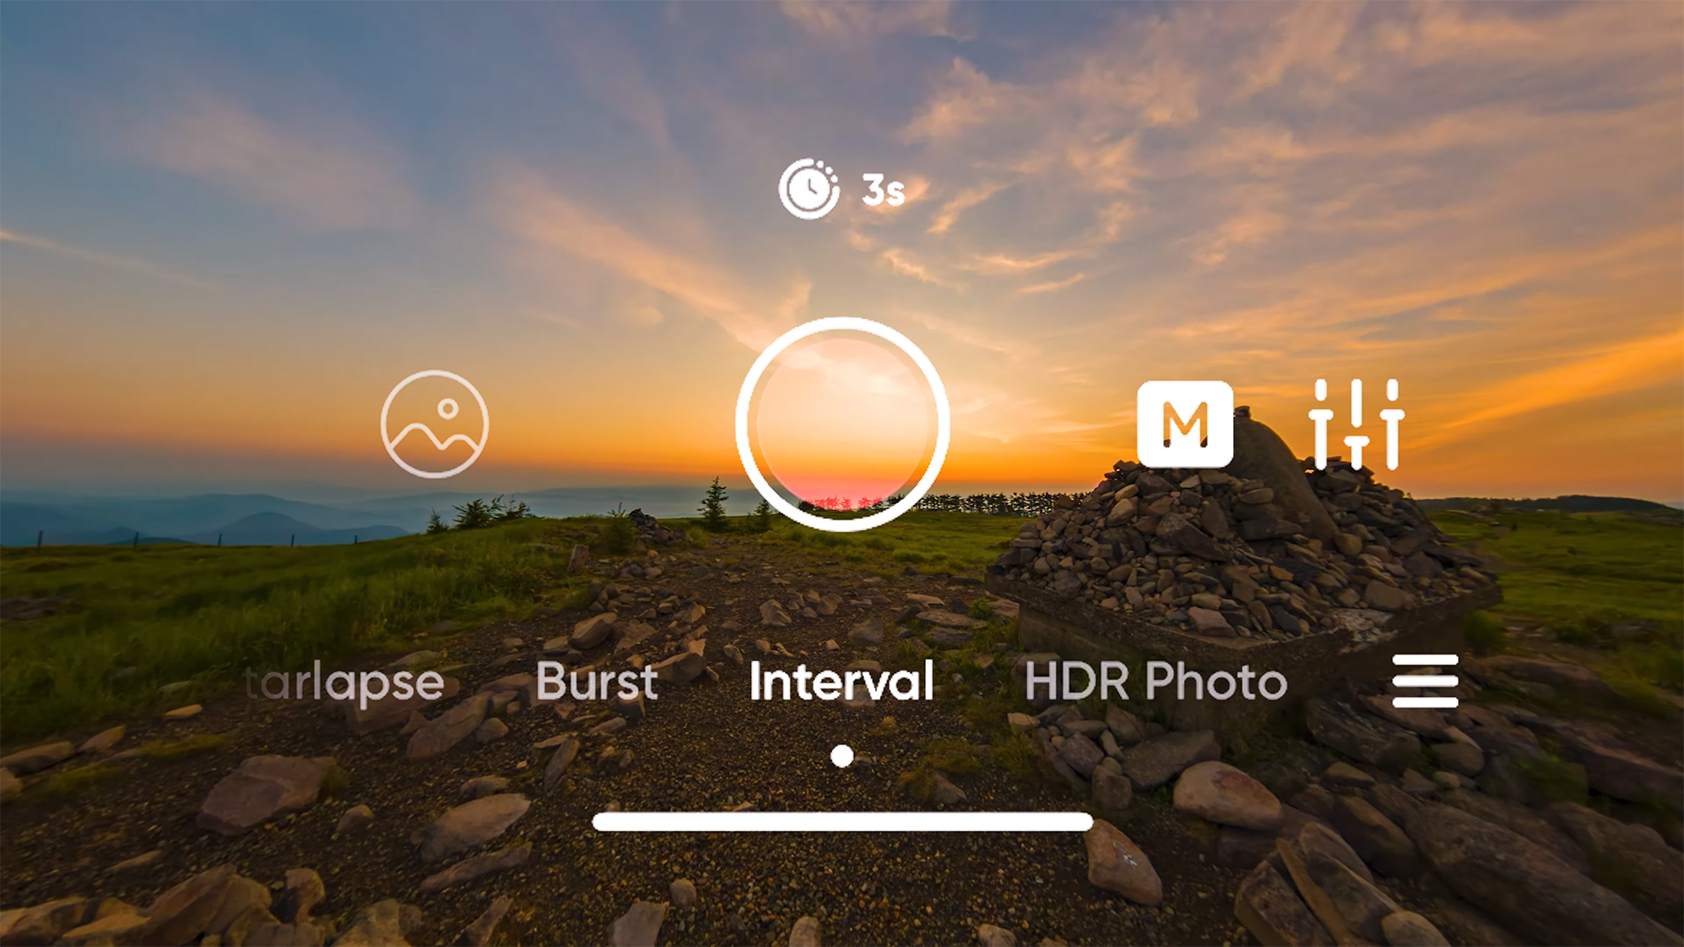
Set up your camera at least 30 minutes before the sun sets and hit record. A good rule of thumb is to let it record for around an hour, or until the sky is completely dark. Insta360 cameras have two modes for shooting sunset and sunrise timelapses (or any kind of timelapse to be honest):
Timelapse Mode and Interval Mode are both available on all cameras mentioned in this guide.
We recommend Timelapse Mode if you want to keep it simple.
- Mode: Timelapse Mode
- Resolution: Maximum resolution + 30fps
- Interval: 5 seconds
- Shoot Length/Duration: Infinite
- Shooting Mode: Manual
- Color Profile: Vivid
- Shutter Speed: Auto
- ISO: 100
- EV: -0.7
- White Balance: 5500K
Once you're done, import your footage into the Insta360 app to edit. If your footage is 360°, you can add panning movements by reframing. This video from Best360 will walk you through the basic settings and editing techniques.
perfe-1.gif)
Want to go pro? Try Interval Mode! Unlike Timelapse Mode, Interval Mode takes photos instead of recording a video. This means that each individual frame captures way more detail, but this mode also requires that you have access to additional photo and video editing software like Insta360 Studio, Lightroom and Premiere Pro.
- Mode: Interval Mode
- Format: PureShot + RAW
- Resolution for X4: 72MP if you want to crop/pan the frame, otherwise 18MP
Go for the maximum resolution when shooting with Insta360 Ace Pro 2 or GO 3S. - Interval: 5-10 seconds
- Shooting Mode: Manual
- Color Profile: Vivid
- Shutter Speed: Auto
- ISO: 100
- EV: -0.7
- White Balance: 6000K
- Once you're done shooting, import your RAW (DNG) files into our desktop application Insta360 Studio. From there, export them as "360° Photo" and choose DNG as the output format.
Please note: Skipping this step will make your photos appear like two spheres side-by-side in Lightroom and Photoshop. - Choose one photo to color grade and make adjustments to, then synchronize the settings to apply to all photos. Export them as JPGs.
- Open a video editing program like Premiere Pro and import the JPGs as "Sequence," then drag them onto the timeline. You can also use Insta360 Studio to edit the video if you don't have Premiere Pro.
Pro tip: Using the official Insta360 ReFrame Plugin for Premiere Pro will allow you to reframe the 360° photos and create dynamic movements throughout the video. - Export the video based on your preferences.
This video by @AkifromJapan is a great resource on how to shoot incredible timelapse videos with Interval Mode.
Time's on your side.
Whether you use Timelapse Mode or Interval isn't too important—both modes can and will yield fantastic results. The important thing is to get out there and find the best location, set up your shot, and hope that the weather will be in your favor.
Keen to keep up to date on Insta360 stories? Keep an eye on our blog and sign up for our mailing list. Got a story to share? Email yours to communitystories@insta360.com and win up to US$50.


%20(1).svg)
%20(1).svg)
.svg)


